What a wonderful and crazy journey this life is! As we eagerly wait to see what this new year will bring, we also reflect on all that has happened in the last year.

Many of our favorite memories from this past year are focused around the children who have come to stay in our home. We had the joy of having several kids stay with us for short periods. It’s so fun to have the chance play with them and love them as our own, even if just for a few days. Our oldest child last year was five years and our youngest was only six weeks, and we had most every age in between.
This past year we were most thankful for A coming back to live with us again! He’s been with us for eight months now and we just couldn’t love him more. As we wait to see what his future holds, we try to enjoy every moment we have.

Our family celebrated quite an exciting summer. My bother got engaged in May! My sister got engaged in June! My mom and I had fun planning surprise engagement parties for both of them. Andrew and Nicole as well as Ashley and David will have their weddings this June!!
I took a trip to California to see my sister and participate in helping with wedding planning. It was pretty hard to decide to leave my boys at home and travel across the country. It was also exciting to be able to travel on my own, I don’t think I’ve done that since we were married. Wedding planning was fun, girl time… and also exhausting. Ashley had a well planned schedule full of appointments.

I have three favorite memories with A that stand out from this year. Our trip to Disney! A friend of Jesse’s offered us free tickets, that was a fantastic day. Our celebration of A’s birthday. We had a monster themed party at the park. He loved every minute of it! Our family vacation to Ohio. I love all the new and exciting things he gets to experience when we visit an entirely different place in the country. A’s best memory of the trip has to be the combine ride. We were just watching the corn field when the owner came and offered that we could ride. It was awesome!!

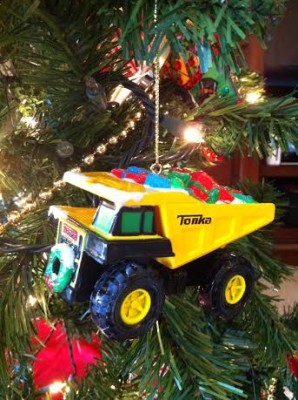
Our family ended the year enjoying time together for the holidays. It was extra special to be able to include A in our traditions this year. As I did every year as a kid, we took him to pick out his own ornament to add to the tree. It was also fun to play Santa for the first time. The first gift A opened from his stocking was a pack of socks. A responded with “Socks!! It’s new socks!!” When he was that excited about socks, we couldn’t wait to see him enjoy the rest of his gifts.
Looking forward to what 2014 will bring…


